|
Completing Asset Inspections using the mobile phone:
Here are the basic steps to follow:
| 1) | A job must be scheduled and assigned to you the engineer |
| 2) | Synchronise - download all new jobs (example) |
| (b) | Select from the grid - the job to start |
| (c) | From the bottom left menu select "start job" (example) and then select a "Sub location" from the drop down menu |
| (d) | The "Asset Start Screen" is displayed (example) |
| (e) | Enter the serial number of the asset to be inspected. There are several options that may occur: |
| 1. | If the serial number is recognised under the customer's name - AND is already registered on the current site then the inspection will begin immediately (example) |
| 2. | If the serial number is recognised under the customer name - AND IS NOT registered to the current site then you will be given a warning and the opportunity to move & register the asset to this site |
| 3. | If the serial number IS NOT recognised under this customer then you will automatically be given the opportunity to create and define the new asset. |
| (f) | Assuming the inspection has started you will be shown the "Asset Answer Screen" (example) |
| (g) | Complete all questions from the top dropdown box |
| (h) | Once all questions are answered click the "Enter Results" button at the bottom right of the screen |
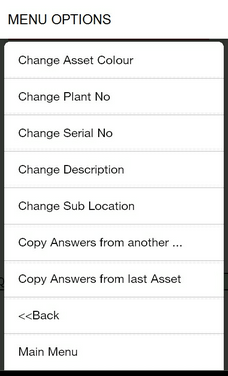
| 1. | Note: from this screen many of the asset details can be altered e.g. |

| (i) | Select the "inspection result" on the "Asset Result Screen" (example) There are several different options depending of the result selected eg: |
| 1. | PASS: the result is recorded and you are presented with the "Asset Start Page" ready for the next asset |
| 2. | PASS WITH CAUTION: There are three levels (A, B & C) with each you are given the option to record details about the actions required to be taken along with the timeframe and risks to injury (example). Once completed you will then be taken to the "ASSET START PAGE" to begin the next asset inspection. The A, B & C will automatically select different risks to humans and times frames to resolve (see you own internal company definitions). |
| 3. | FAIL: You are given the option to enter notes about why the asset failed |
| (j) | Repeat until all assets have been inspected |
| (k) | Once all assets have been inspected you set the job the "Finished". This is done by navigating to the "Job Overview Screen" (example) and selecting "Job Finished" from the bottom left menu. |
| 4) | Synchronise - upload completed jobs (example) |
|
